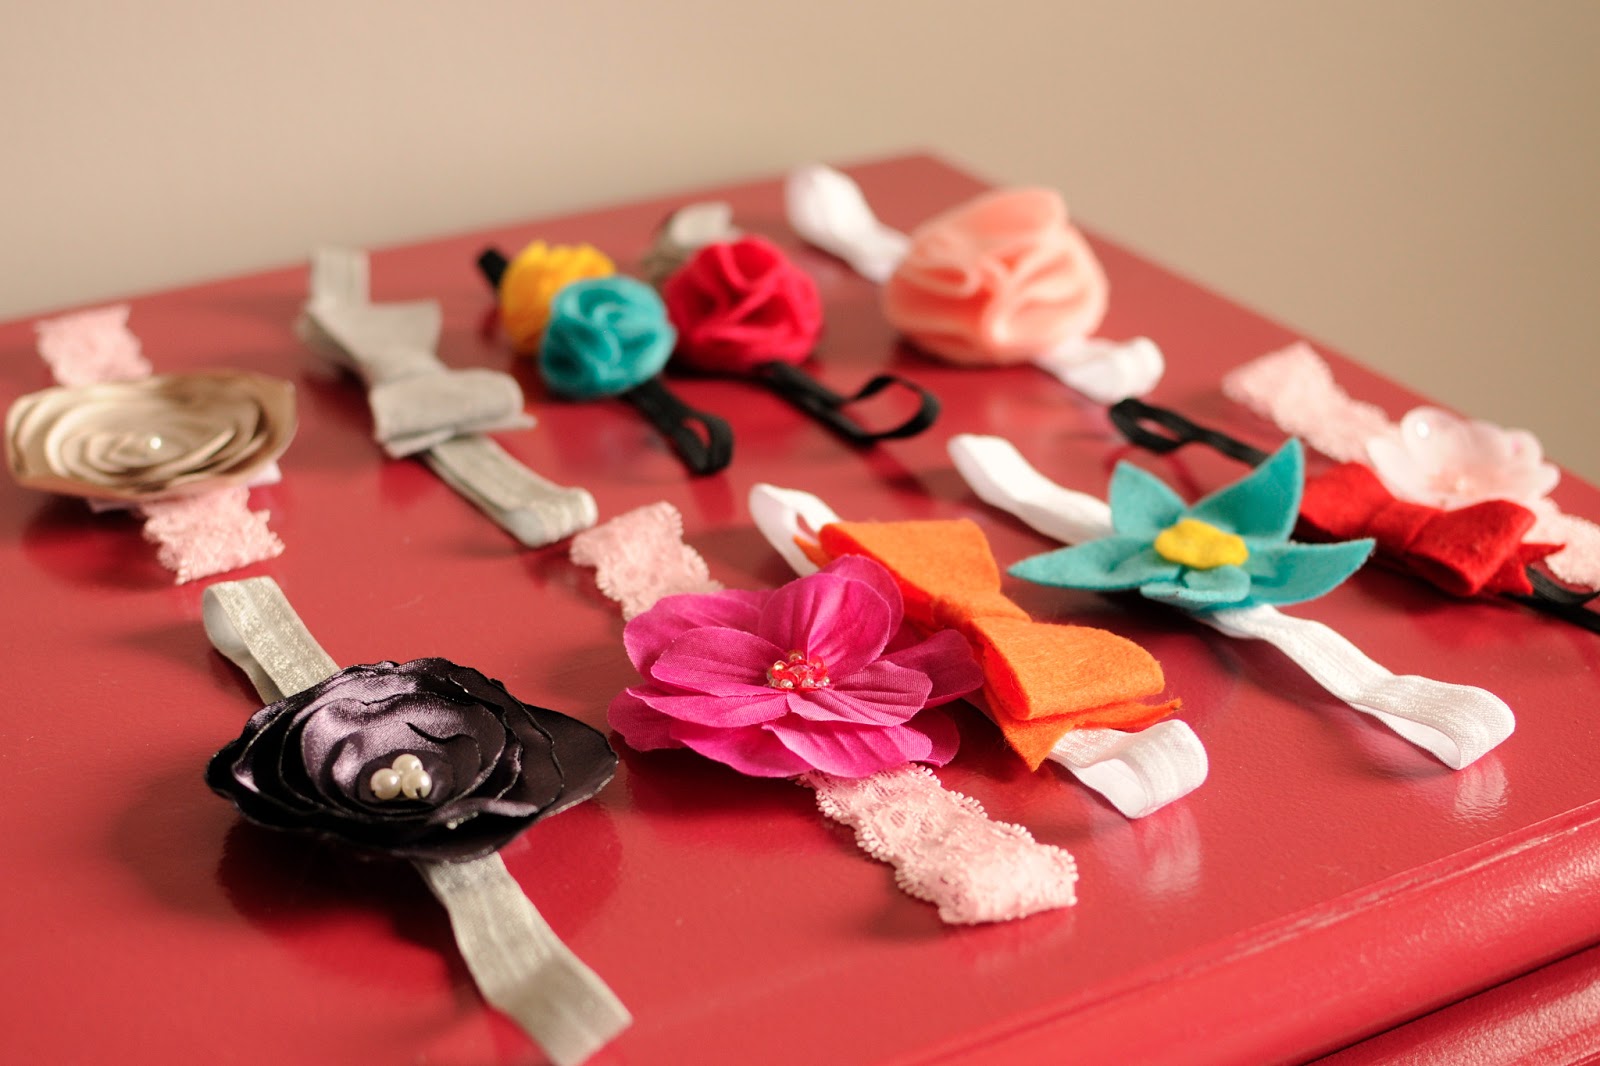

Attaching the flowers and bows to the headband was pretty easy too. I just cut the length of the elastic (I used the measurements on this blog). I hot glued the bow or flower based on my own intuition. I cut a felt circle that would fit on the back of the item I was attaching (sometimes it was a square for the flowers and the bows got long skinny rectangles). Then I attached the elastic on the edges of the circle/square/rectangle in order to give a smidge more room for the headband (so instead of putting the elastic overlapping itself I just attached it at the edges of the circle). To keep it all secure, I made an elastic sandwich with the felt circle and the flower or bow I was attaching. I think it will be pretty secure because I was pretty generous with the hot glue for these.

The satin flowers are very fun to make. I used all clearance satin from Hancock Fabrics and Joann's fabrics. On fabric I spent probably... 5 bucks? The purple satin I got a half yard and I have so much fabric. The silver satin, I got only a quarter yard and still have lot. I could easily make a dozen more of these. I also got some pink fabric that was not satin, but is 100% polyester so it does burn. When I have those flowers on headbands I'll post more pictures. :)
Things I learned with this project:
- The felt puffy flowers do not have to be an exact circle. Since I'm not capable of cutting an exact circle...that's a good thing
-Same with the satin flowers. You're just going to burn them anyway.
-Use tailor's chalk on the felt when you're tracing. I just used a sharpie and it was a pain (especially on the bows) to cut the correct shape AND make sure no sharpie lines were showing at the end.
-Hot glue does soak through felt, but the fabric glue I bought didn't cut it either. I just glued everything on a paper plate and moved the flower when I was done so it didn't get stuck to said paper plate.
- I have a slight problem with these. I have a lot of flowers and bows. And plenty of materials to make more.

No comments:
Post a Comment